
Outdoors
10 Tips for Better Outdoor Instagram Photography
By |
By: Vincent D’Amico
We call ourselves dirtbags, explorers, and extreme adventurers…yet we still want the coolest Instagram accounts. It may sound like an oxymoron, but we love social media almost as much as the outdoors because we get to share our epic photos. We also get to see our friends’ pics of the cool places we’ll eventually add to our own bucket list. Up your Instagram game in ten simple steps, and you’ll gain more followers, meet more adventurers, and ultimately, you’ll go more places.
- For starters, you need to position yourself in just the right spot. You may see a beautiful landscape from where you’re standing, but from the camera lens it may not be as aesthetically beautiful. Remember the rule of thirds, which means you break the photo into three parts horizontally and vertically so you have nine symmetrical boxes. The points of interest in your photo should be in the intersections as seen below.
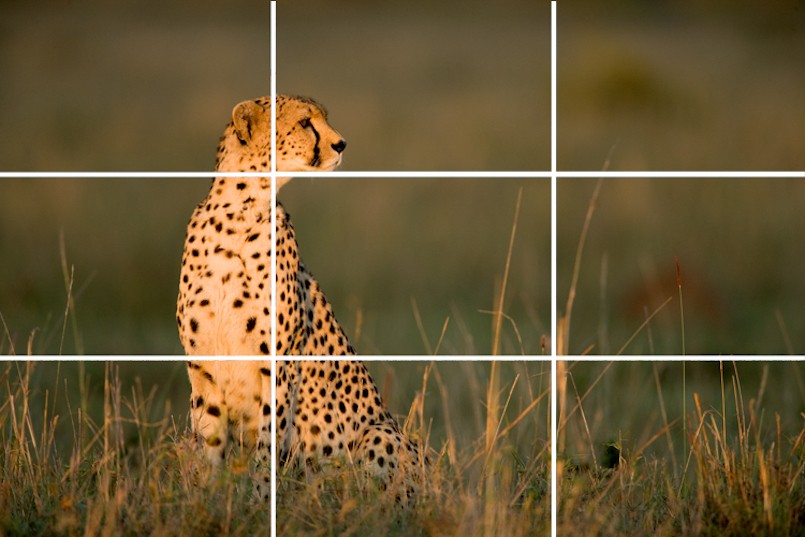
Image: Photo Video Edu
- Experiment with angles. Tilt your phone forward and backward until you see the landscape with the most interesting dimension and lighting. Tap your finger in the darker spots to brighten up the photo. Take a few practice shots from different angles to better determine which is the best perspective.
- When we say take a few practice shots, we really mean take about ten or fifteen frames. Move your feet around and hold your camera at different lengths. The more pictures you have, the better. You can always delete them later. When you finally get to Instagram, try different filters on your favorite options before selecting a photo. Never choose a photo until you have applied test filters.
- Use your iPhone or Android camera instead of the Instagram camera.Your phone’s camera will let you select focus and exposure settings. Aside from simply having more options as you take your photos, you’ll also be able to easily switch between your various selections. On Instagram, you can only look at one picture at a time, and you cannot save multiple shots as easily.
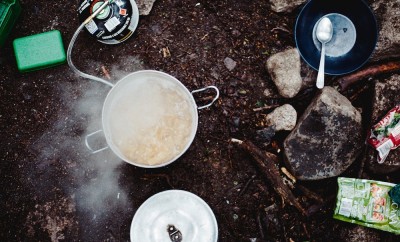
- Use the Cortex Cam app for shooting in low lighting. This will reduce fuzz and make your darker images appear much sharper.
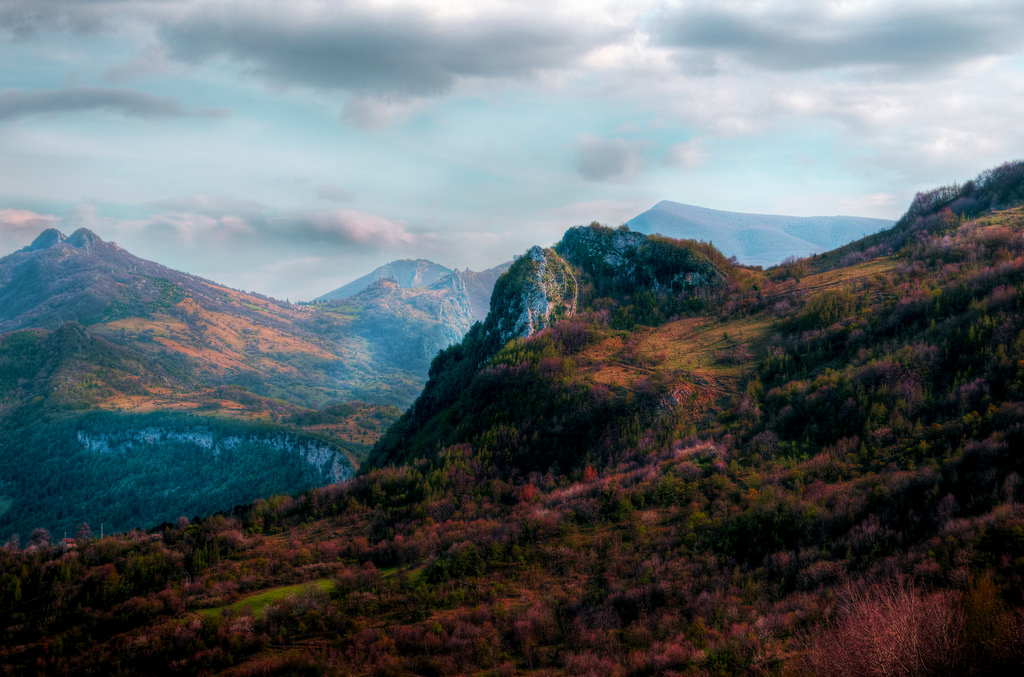
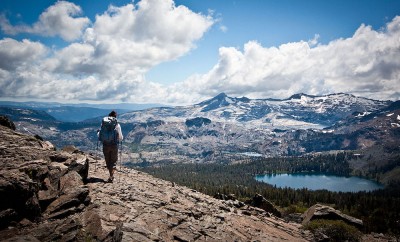
- Shoot landscapes in the golden hour. The golden hour is when the sky turns from red and orange to yellow, or shades of gold. Everything looks luminous in this lighting. The lighting is soft and there is less contrast, so landscape photos on your phone will look like works of art.
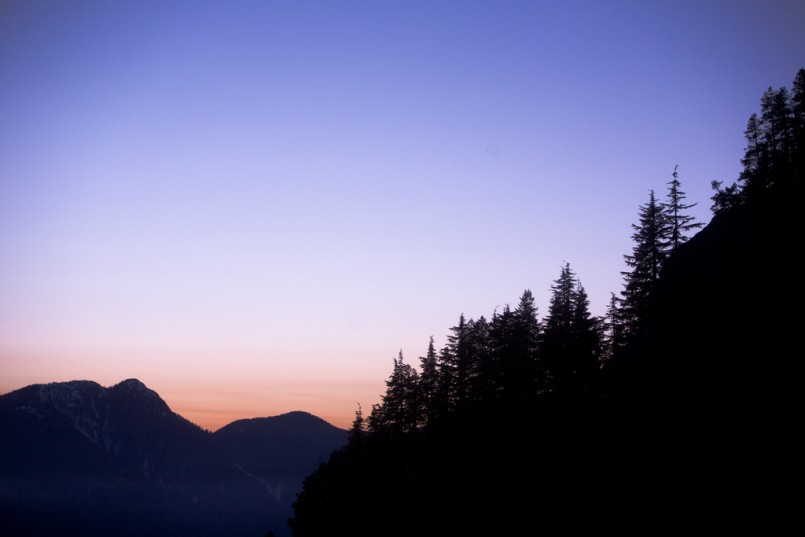
- In both morning and evening there is a blue hour. At this time you’ll see the sky go from blue to orange. Because of the solid blue sky, this is the best time to shoot a photo with the moon. Because of the contrast, it is also a great hour for capturing mountain ridges or skylines.
By: Kenny Louie
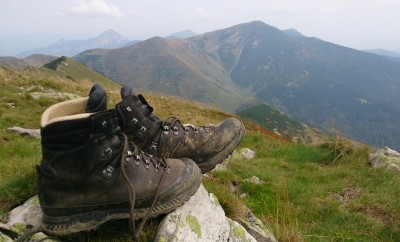
- Always keep your phone horizontal. The outdoors were made for a wide frame. When there is so much around you, you don’t want to limit your photo’s potential by adding unnecessary boundaries. Unless you are shooting tall trees, we can’t find a time when vertical would be better.
- Download the VSCO Cam app to perform major adjustments like sharpness, cropping, temperature, white balance, exposure, and contrast. The app also features interesting presets that you may prefer to Instagram’s filters.
- Stick with the same two or three filters to create a consistent look. When someone looks at your profile, your photos will stand out even more because they are even and consistent. Varying filters results in busy photos that contain too many colors. A great profile means other explorers will think you’re a superb adventurer, which will lead to a greater community of outdoorsy friends.


0 comments